

Mounting Instructions: Wall Signs
Your sign ships with the sign bracket half already installed on the back, so you won't need to attach anything to the sign before mounting.
Indoor use only. These signs are built for indoor mounting and aren't rated for outdoor exposure, sun, or moisture.
Included items
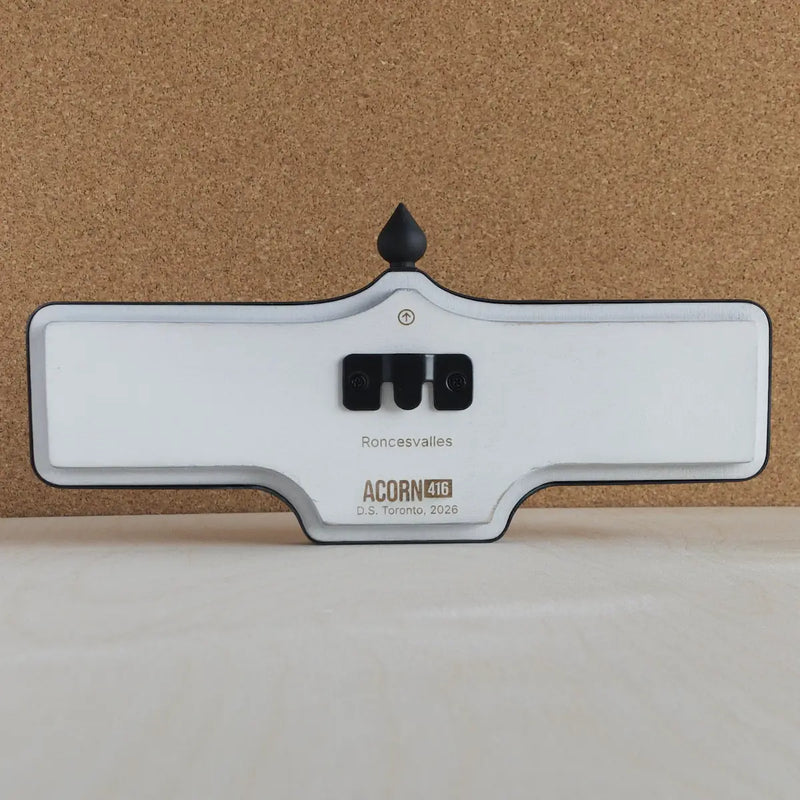
Sign with flush mount bracket pre-installed
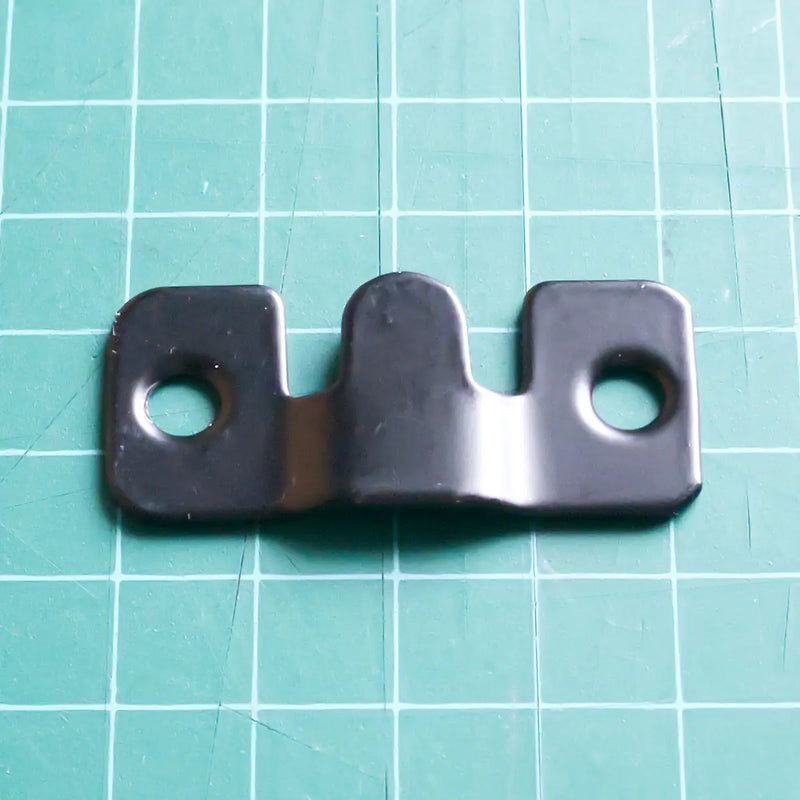
Flush mount wall bracket half
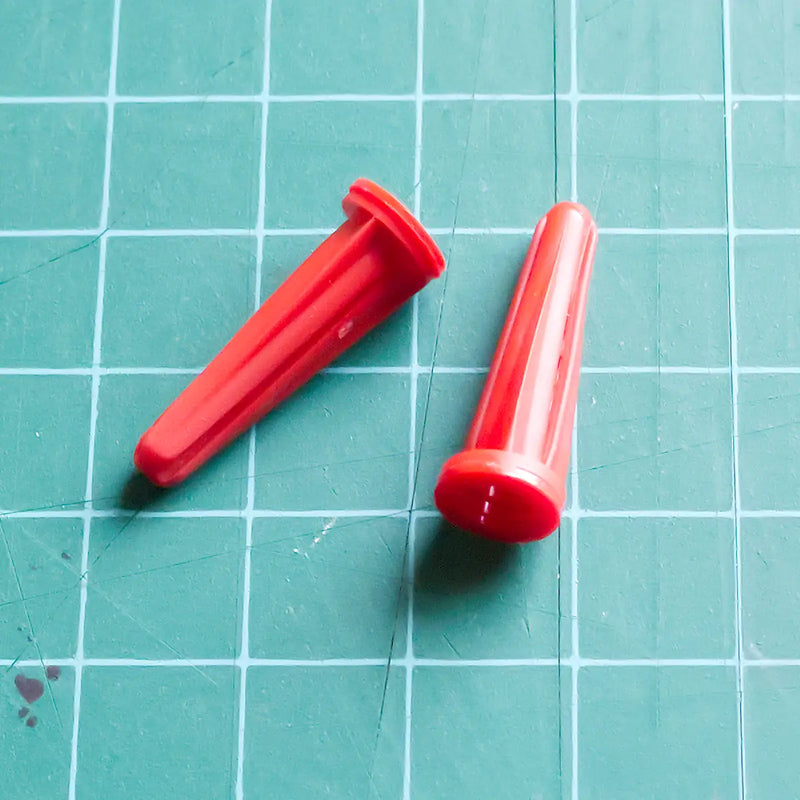
2 x plastic wall anchors
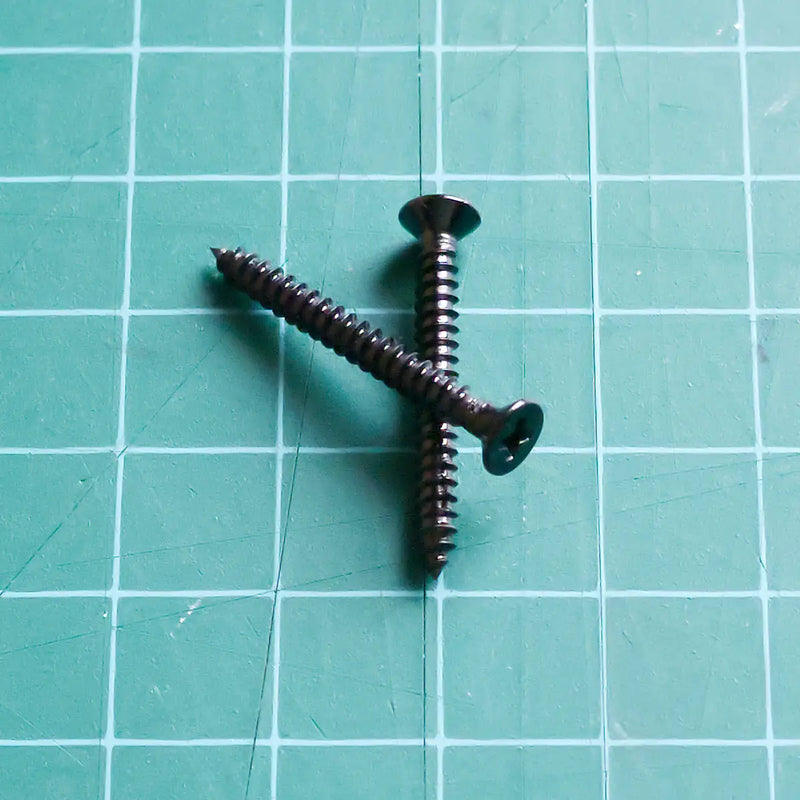
2 x 1-inch screws (#4)
What you’ll need
- #1 Phillips screwdriver (PH1) - a larger screwdriver can slip out of these small screw heads and mar the finish
- Hammer
- Drill with 3/16” (4.8mm) bit
- Pencil
- Tape measure
- Torpedo level
Good to have:
- Stud finder, useful if you want to double check for pipes or wiring before drilling, or want to anchor into a stud for extra strength
- Broom and dust pan for drilling dust
- Painter's tape over the drill points, helps prevent chipping on painted or textured walls
Before you start
The included plastic anchors are made for drywall or plaster. If you're mounting into brick, tile, or concrete, you'll need anchors rated for that surface instead, the included ones won't hold.
If you're not sure what's behind your wall, a stud finder can check for pipes and wiring before you drill.
Steps
1. Choose your height.
Measure up from the floor and make a light pencil mark. 5 to 6 feet to the centre of the sign is a good starting point, adjust for your space.
2. Draw a level line.
At your mark, draw a light line 2 to 3 inches wide with a level, so it's true.
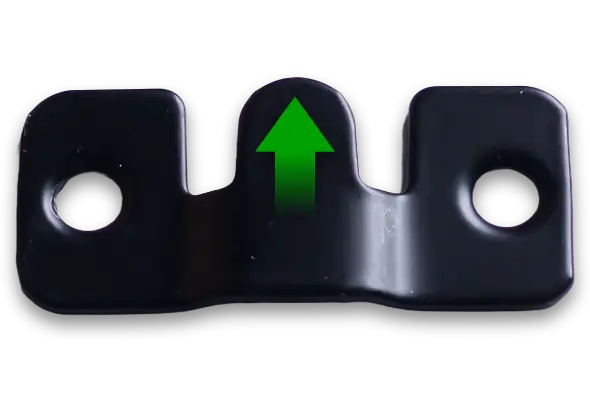
3. Position the wall bracket half.
Hold the bottom of the wall bracket half against the line, with the middle pin facing up. Centre it where you want the sign to hang.
4. Mark your holes.
Trace the wall bracket half's two holes onto the wall in pencil.
5. Drill.
Drill two holes, 1 inch deep, with the 3/16" (4.8mm) bit, centred on your marks.
6. Set the anchors.
Hammer the plastic wall anchors in until flush with the wall.
7. Secure the wall bracket half.
Screw the bracket to the wall by hand, middle pin facing up, with the two included screws, snug but not tight.
8. Hang the sign.
Slide the sign bracket half down onto the wall bracket half.
9. Level it.
Small pads on the back corners let the sign pivot slightly once hung. Hold a small level flat against the bottom edge of the sign and gently tilt until it reads level, even if the wall bracket half wasn't hung perfectly straight.
About the corner pads
Every sign has small adhesive pads on the back corners. They keep the sign's face sitting parallel to the wall rather than drooping forward, and they let you adjust the hanging angle after mounting. If your wall bracket half ends up slightly off level, use the pads to correct it rather than repositioning the bracket itself.
Tips
- Drive the screws by hand, not with a power drill or driver. Power tools can overdrive the screw through the wall bracket half's countersunk holes.
- Don't overtighten. Same risk as above, the screw can punch through the countersink.
- If a stud happens to line up with your chosen height, anchoring into it adds extra holding strength, though the included anchors are rated for standard drywall on their own.
- A damp cloth will clean up any leftover pencil marks.
- Affordable level option
Prefer not to drill?
Removing the sign bracket half for Command Strips or similar
If you'd rather not put holes in your wall, you can remove the sign bracket half and pads and mount the sign with a product like 3M Command Strips instead. Instructions aren't provided for those products, follow the manufacturer's own instructions and weight ratings for your specific sign.
To remove the sign bracket half and pads:
- Using a #1 Phillips screwdriver, remove the 2 small screws holding it to the back of the sign.
- This leaves two small screw holes on the back, not visible once the sign is hung. Fill with wood filler if you'd like a completely flat surface, or leave as is.
- Peel off the corner pads. These help the sign hang level with the included bracket, they're not needed for Command Strips.
- The back is now clear for whatever mounting method you choose. These signs typically weigh around half a pound. Command Strips rated to hold 1 lb or more are recommended for a comfortable margin.
Questions or Issues?
Every sign is made and finished by hand, and mounting hardware can occasionally act up in a way I haven't seen before. If you run into any trouble, or something doesn't fit or sit quite right, email me at hello@acorn416.com and I'll help sort it out
